DIY

DIY Concrete and copper pipe lamp

blogcovercopperlampI’m absolutely loving this concrete trend that is happening right now. After noticing a couple of different copper pipe lamps on Pinterest, I decided to try making my own.

It ended up being a lot easier than I had anticipated and I love the industrial feel it adds to my room.

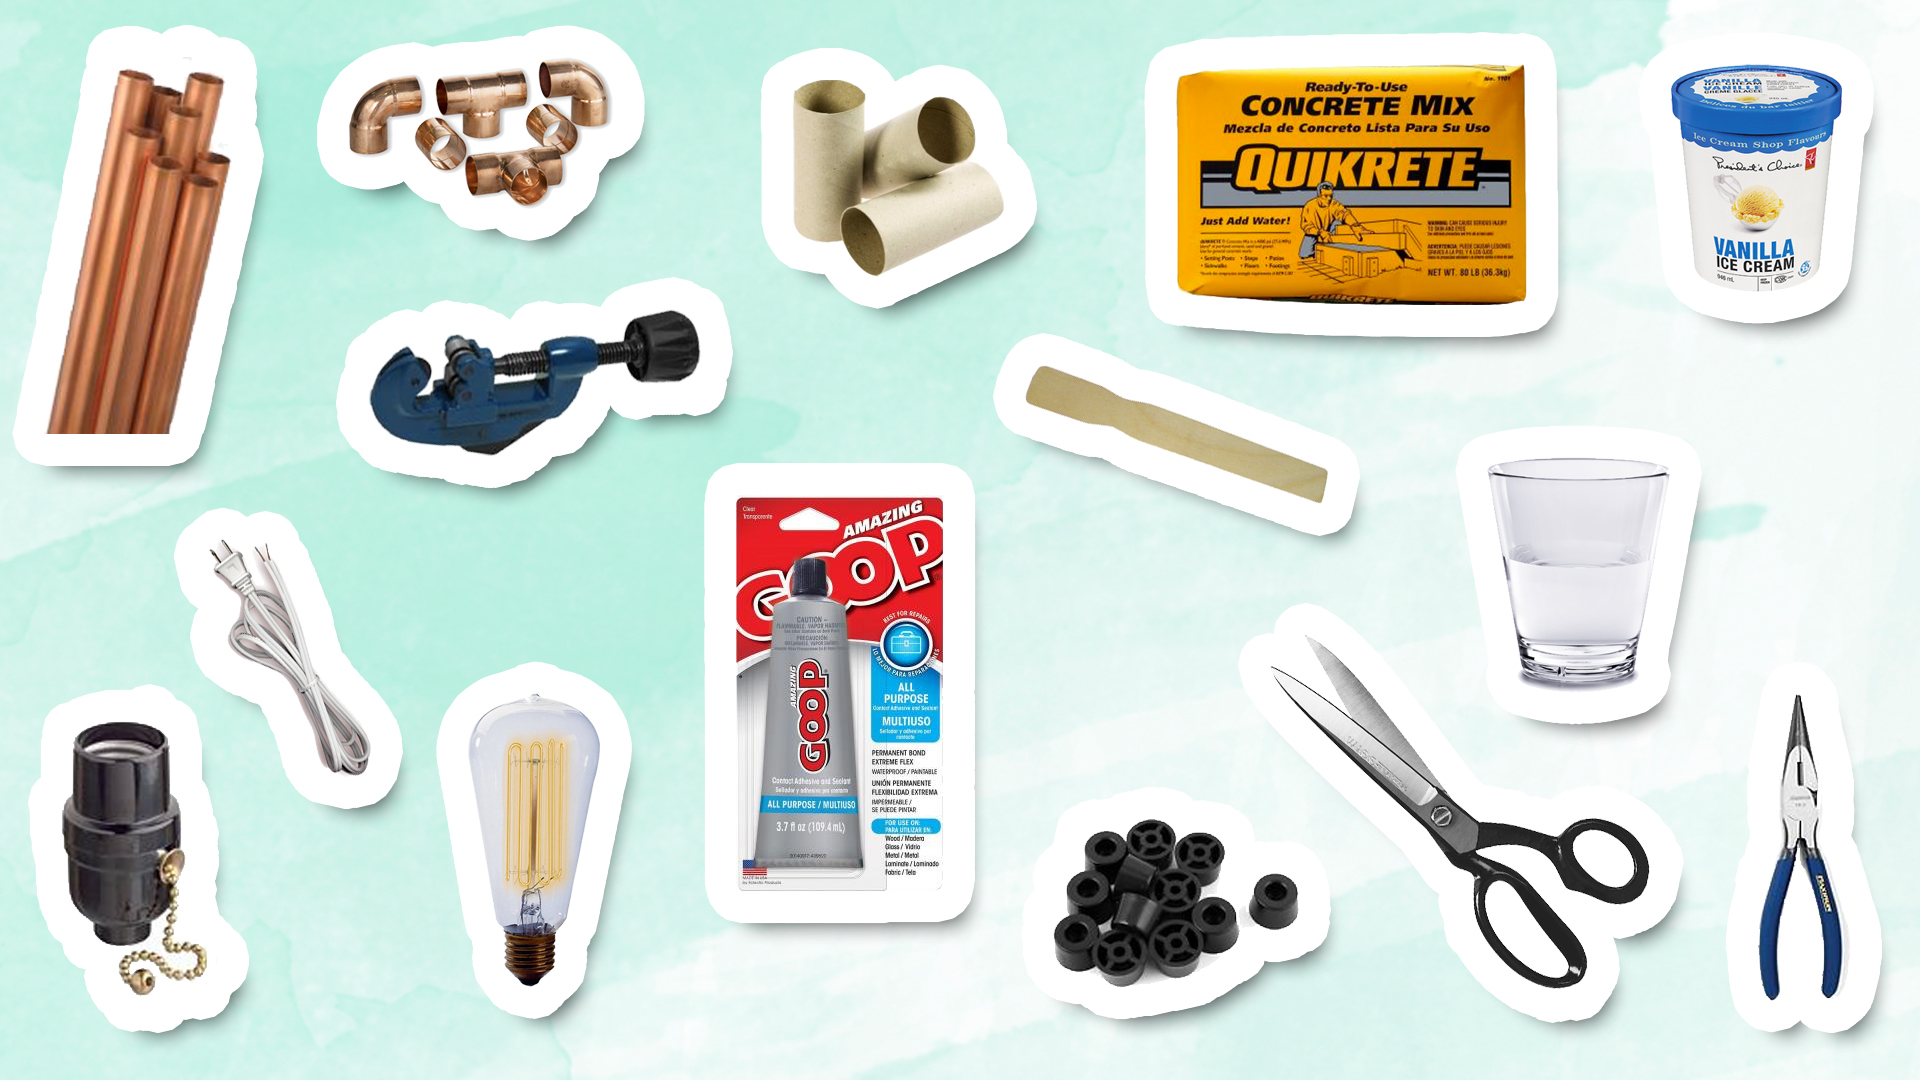
Materials

Body:

  • Copper pipes – The length will be dependant on how tall you want your lamp to be. I used 22 inches of copper pipe
  • Copper elbows – dependant on the shape you want. I used one 90 degree elbow and two 45 degree elbows.

Base:

  • Concrete or mortar mix and enough water according to the instructions on your mix
  • an empty container – I used an ice-cream container but using something with a waxy interior is preferable
  • Furniture feet protectors (or anything you can use to raise up the base. I used wine stoppers but corks would also work really well!)

Electrical:

  • wire with plug
  • lamp holder (mine has a turn switch on it to make it easier to turn on and off)
  • Light bulb (The edison light bulbs complement this lamp well!)

Tools

  • Needle nose pliers
  • scissors
  • all purpose glue (I used amazing Goop but have heard great things about Gorilla glue)
  • toilet paper and paper towel rolls. If you don’t have this, just use paper or card stock
  • plastic wrap

cementlampmaterials

Instructions

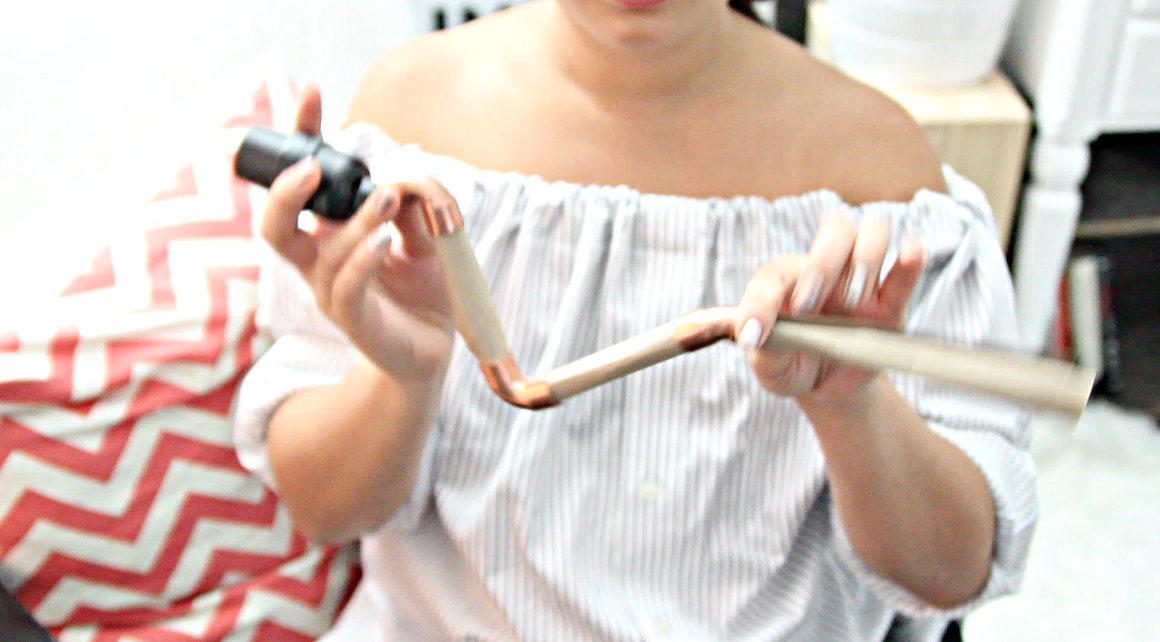
  1. Cut your toilet paper and paper towel rolls in half and roll them into tubes. You are going to use these to test out different shapes for your lamp. You can cut the tubes shorter to change the shape by sticking them in the elbows. Keep adjusting until you find something you like.screen-shot-2016-10-20-at-2-38-55-pm
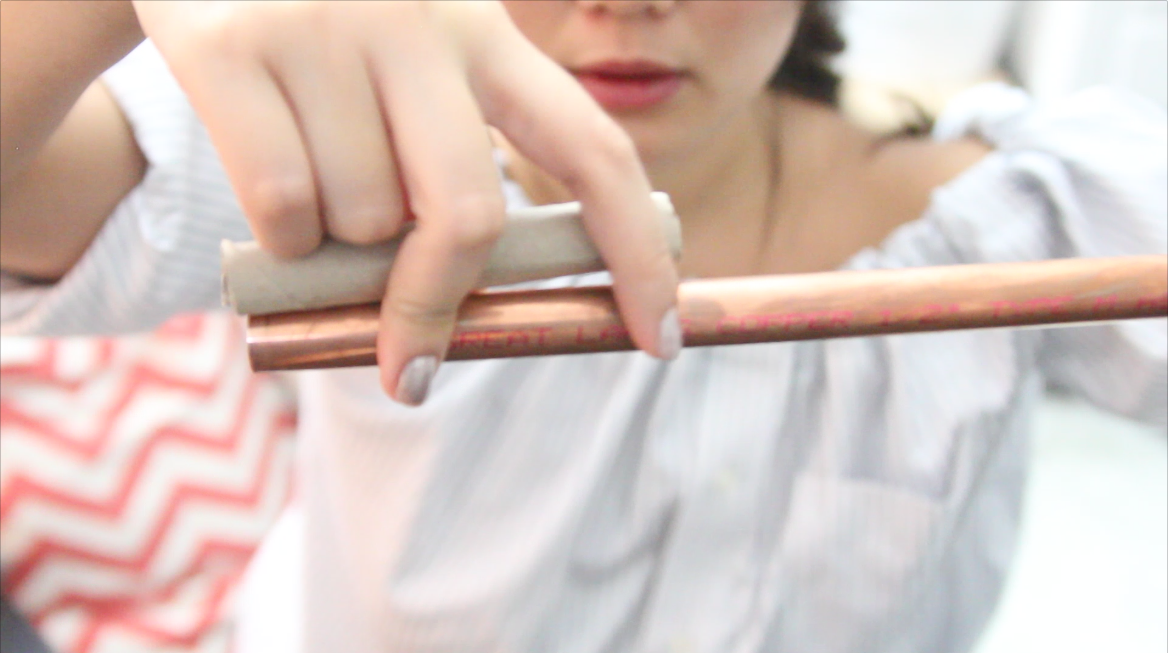
  2. Once you’re happy with the shape of your lamp, use these toilet paper rolls as a way to mark how long each of your pieces need to be and use a pipe cutter to cut them into the sizes you need. If you want yours to be exactly like mine, you’ll need four copper pieces, a 6 inch, two 5 inches and a 2 inch.measure copper pipe
  3. Take the copper pipe that is facing the bottom of your lamp and cover the end with clear plastic wrap. This will prevent any concrete from getting inside the tube while you are casting your base
  4. Grab a clean container. I’d recommend using something disposable as there’s no guarantee that you’ll be able to salvage the container. If I did this again, I’d probably use something wider than my ice-cream container. It ended up being a little small for my lamp.
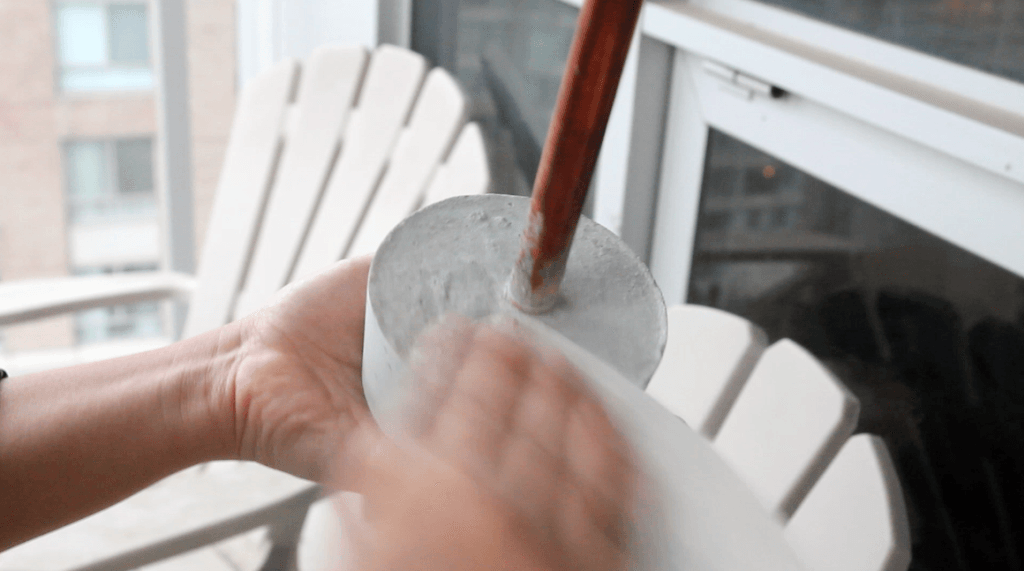
  5. Tape the copper pipe into place so it stays where you want it to be. Make sure the end that’s covered in clear wrap is facing down.screen-shot-2016-10-21-at-2-10-32-am
  6. Mix your concrete according to the package. I used a quick mix and did a 4 to 1 ratio. The mixed concrete had a room temperature peanut butter like consistency. Remember, if you add too much water, it will take a long time to cure, but if you don’t add enough, your base will not be as solid.mixcement
  7. Add the mixed concrete to the container. Mine was about 2 inches tall but you can customize this based on what suits your lamp best.
  8. Jiggle and shake the container a bit until your concrete settles. This will help remove any excess air bubbles. Make sure your copper pipe is standing up straight and leave it somewhere to cure/set over night. *FUN FACT! The water in the concrete isn’t actually evaporating! The water and concrete mix is going through a chemical reaction which is why we say it’s setting/curing instead of drying.
  9. Once your base is dry, gentle take it out of the container. With mine, I just cut off the ice-cream container.
  10. If your base is a bit rough, you can take some sand paper and sand down the edges. If you can’t see your copper pipe through the bottom of your base, you should be able to break through that thin layer of concrete and plastic wrap.sand-concrete
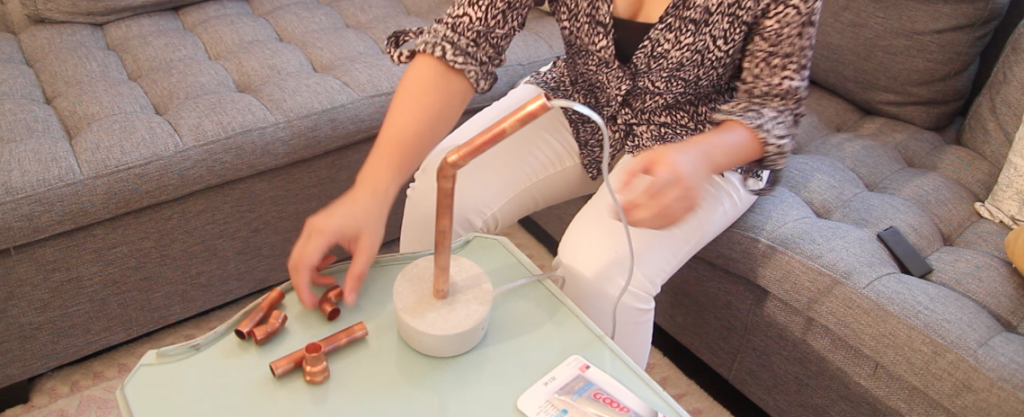
  11. Grab your wire cord and string it through the bottom of your lamp and start putting the copper pieces back together in the shape that you want.putting-lamp-together
  12. String the wire through the bottom of the lamp holder and then tie a knot with the wires to prevent it from slipping out of the lamp socket.tieknotincord
  13. To wire your lamp, read the instructions on your lamp holder and wire to make sure you understand which one is the hot wire and which one is the neutral wire.
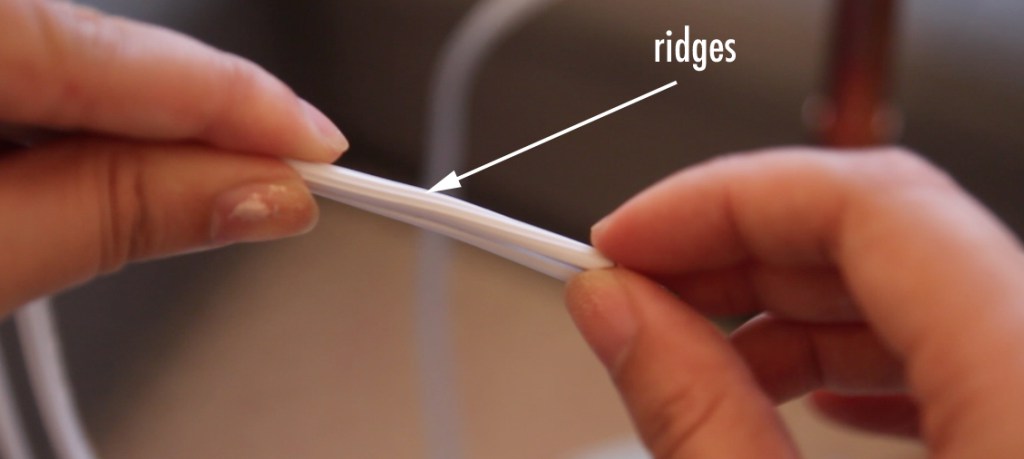
  14. On mine, the neutral wire has ridges that you can see and feel with your finger. You want to take your needle nose pliers and make little hooks on both the hot and neutral wire.ridgesoncord
  15. Unscrew the screws on your lamp holder but not so much that the screws come out. Find which screw on your lamp holder goes with the neutral wire. You want to take the neutral wire with the hook going clock wise and hook it on to the corresponding screw. Then screw it tightly into place.
  16. Do the same thing with the hot wire and then put your lamp holder back together. Screw on the light bulb and plug it in to make sure it works.
  17. If it works, you can take apart your copper pieces and use the glue to glue all the copper pieces together and the lamp head together.gluecopperpipe
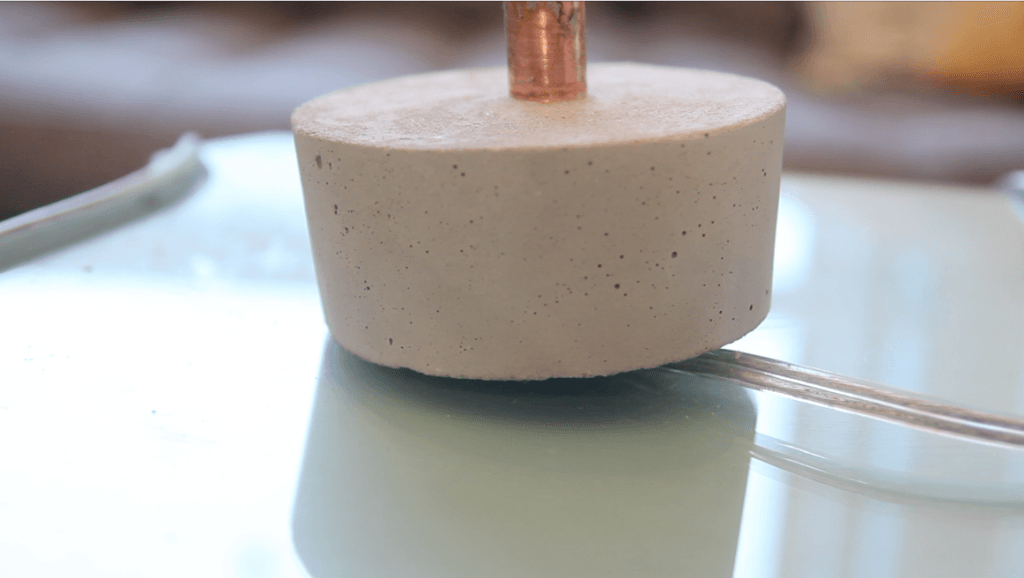
  18. You’ll notice that your lamp doesn’t sit flat on the table because of the cord. Use some furniture protectors to raise the base off the ground slightly so there’s room for the cord to move around.concretelampbase
  19. And that’s it! You’re finish! Enjoy your new industrial looking concrete and copper pipe lamp!

Check out my Youtube video for step by step instructions!

If you have any questions, leave them below and I’ll try to answer them.


Doubt kills dreams – Free printable

So often I’ve realized that so often, I only did new things if I felt confident that I could succeed. I often felt embarrassed when I failed at something and I let that fear of failure hold me back.

So when I saw this quote by Suzy Kassem, I wanted to add it my personal collection. Here’s a free printable of the quote I have at home to keep inspiring me to go forward, and try things with an open mind, and appreciate the failures along with the successes. Doubt Kills More Dreams than Failure Ever Will.

Download now

DIY Tissue paper tassel garland

DIY Tissue Paper Tassel GarlandI’m a big fan of party decorations and I’m always looking for ways to make a big impact on a small budget. These tissue paper tassel garlands are super cute and can be made with so many different colours to match your party theme.
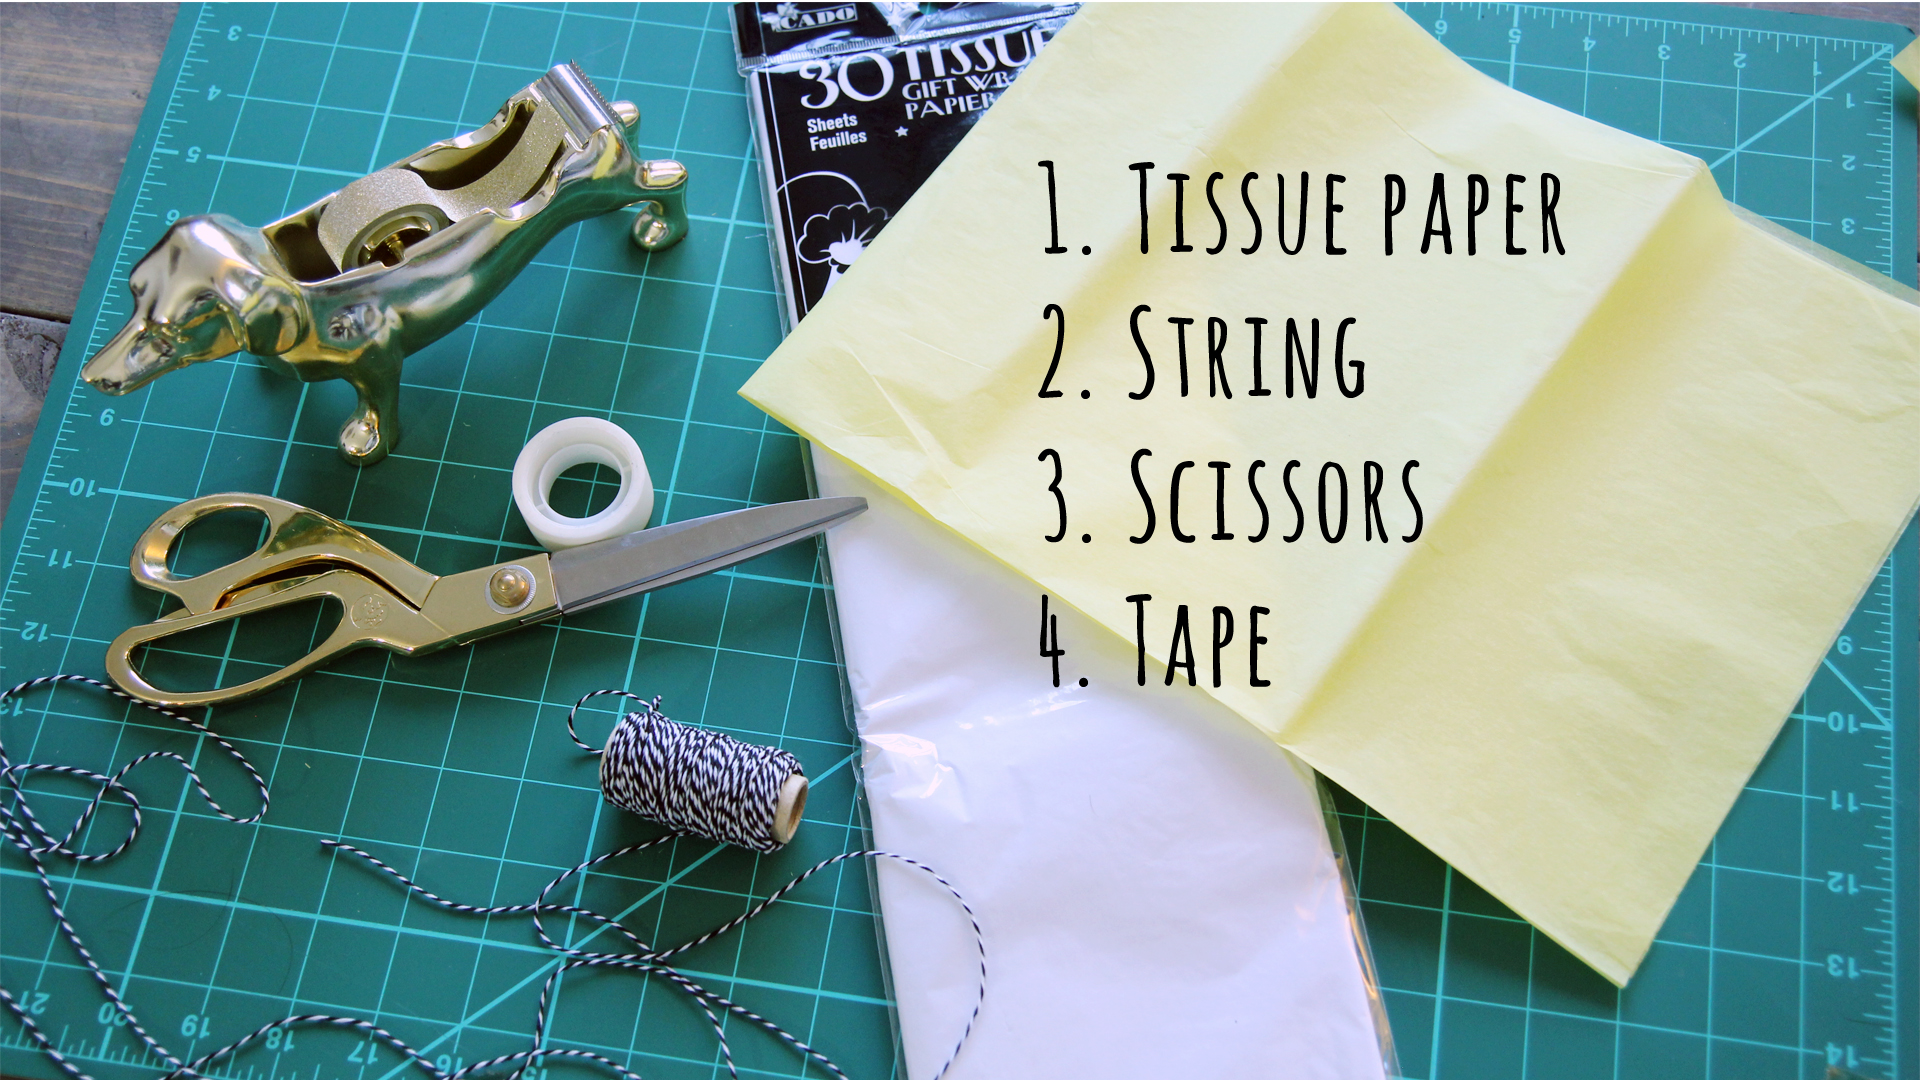
Materials

  • tissue paper
  • string
  • scissors
  • tape

Materialsfortissuepapergarland

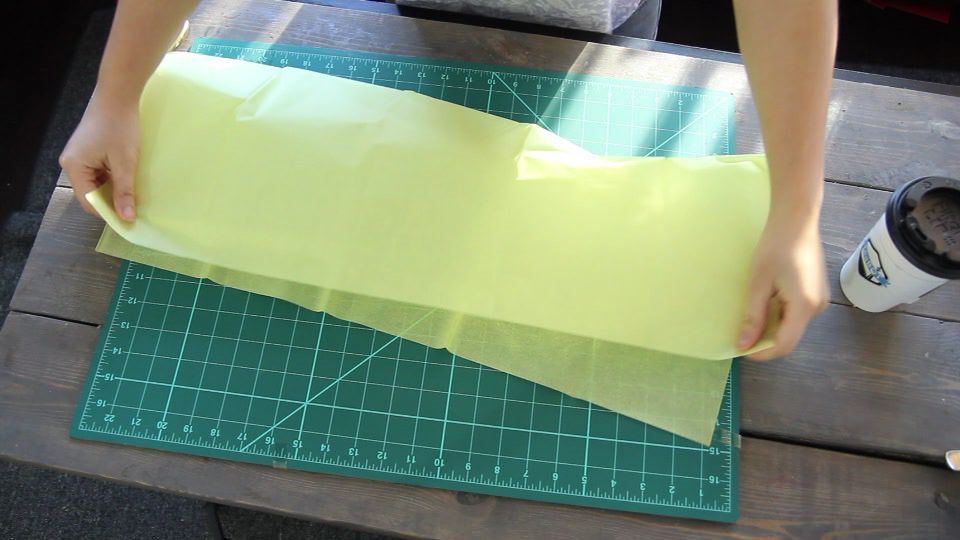
Step 1. Take one piece of tissue paper and fold it in half one way and than again the other way. This will give you 4 layers of tissue paper.

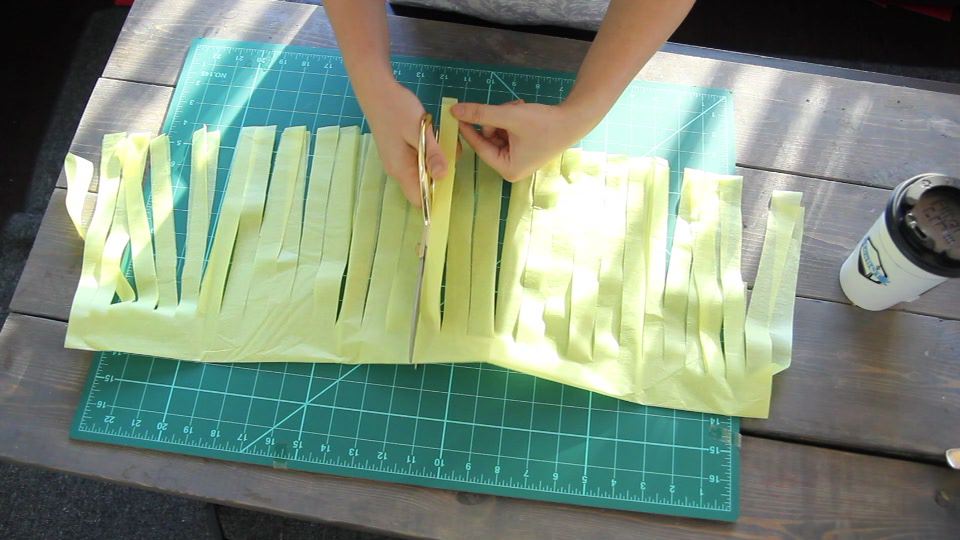
tissueimages 4tissueimages 7Step 2. With the folded edge away from you, cut strips into the tissue paper, leaving about 1 inch at the top. Make sure to cut through all 4 layers. tissueimages 04Step 3. Once you’ve cut all along the length, gently unfold your tissue paper and cut this piece in half along the crease. You will now have two pieces of the tissue paper.
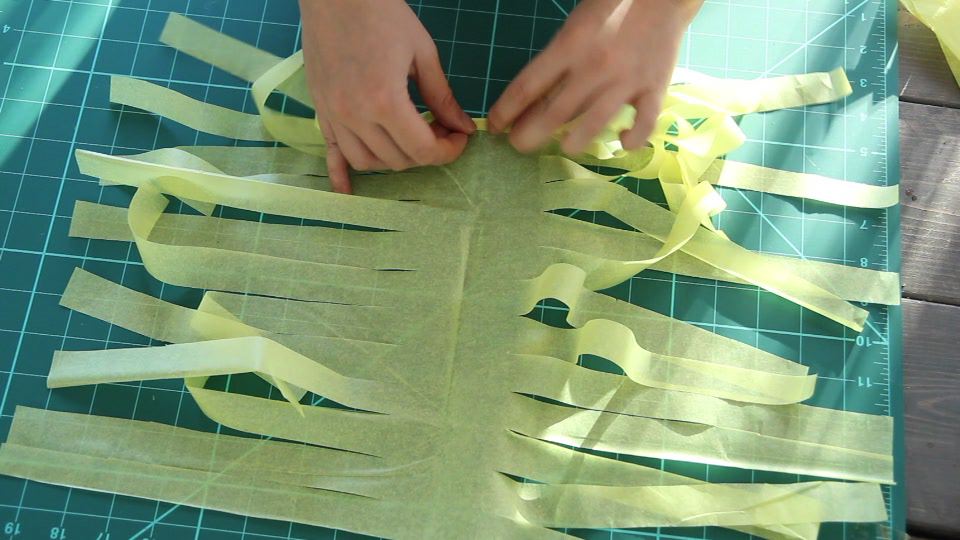
tissueimages 06Step 4. Each of these pieces will make one tassel. Now take one of the pieces and gently open it up. Lay all the strips down flat and tightly roll up the tissue paper along the crease. tissueimages 09
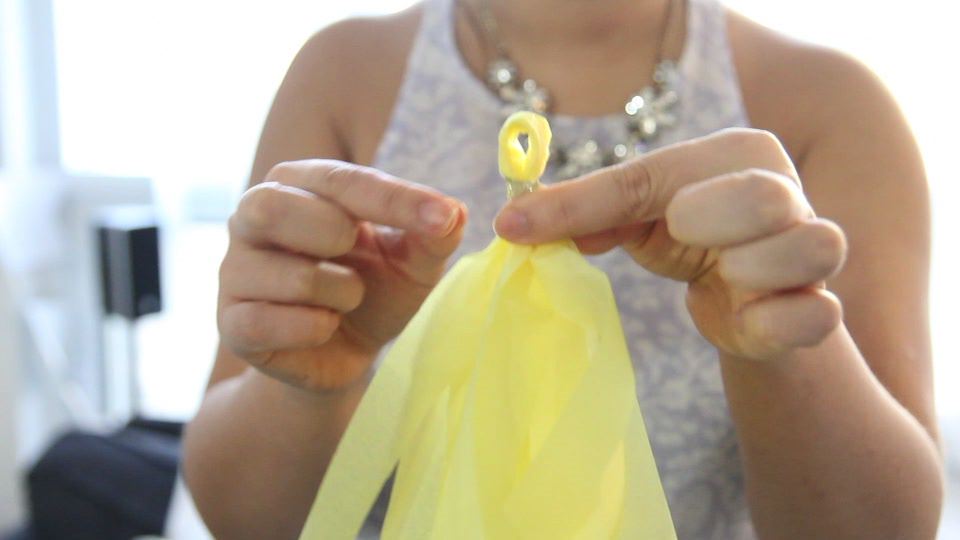
Step 5. Once it’s all rolled up, fold it in half and create a loop. And you can either twist the tissue paper or use some tape to keep it in place.tissueimages 12

Step 6. Now just put it on some string and hang it up!tissueimages 15

To see the full step by step tutorial on how to make tissue paper tassel garlands, check out my Youtube video!

Tea flavoured shortbread cookie recipe

blogcoverphoto

Hey guys!

I’m a big tea drinker so when I learned about  infuse butter to add tea flavour in to your baking, I had to try it! I used a simple shortbread cookie recipe and infused it with a Choco Cherry tea from teaBOT but it’s amazing with any quality chai or black tea.

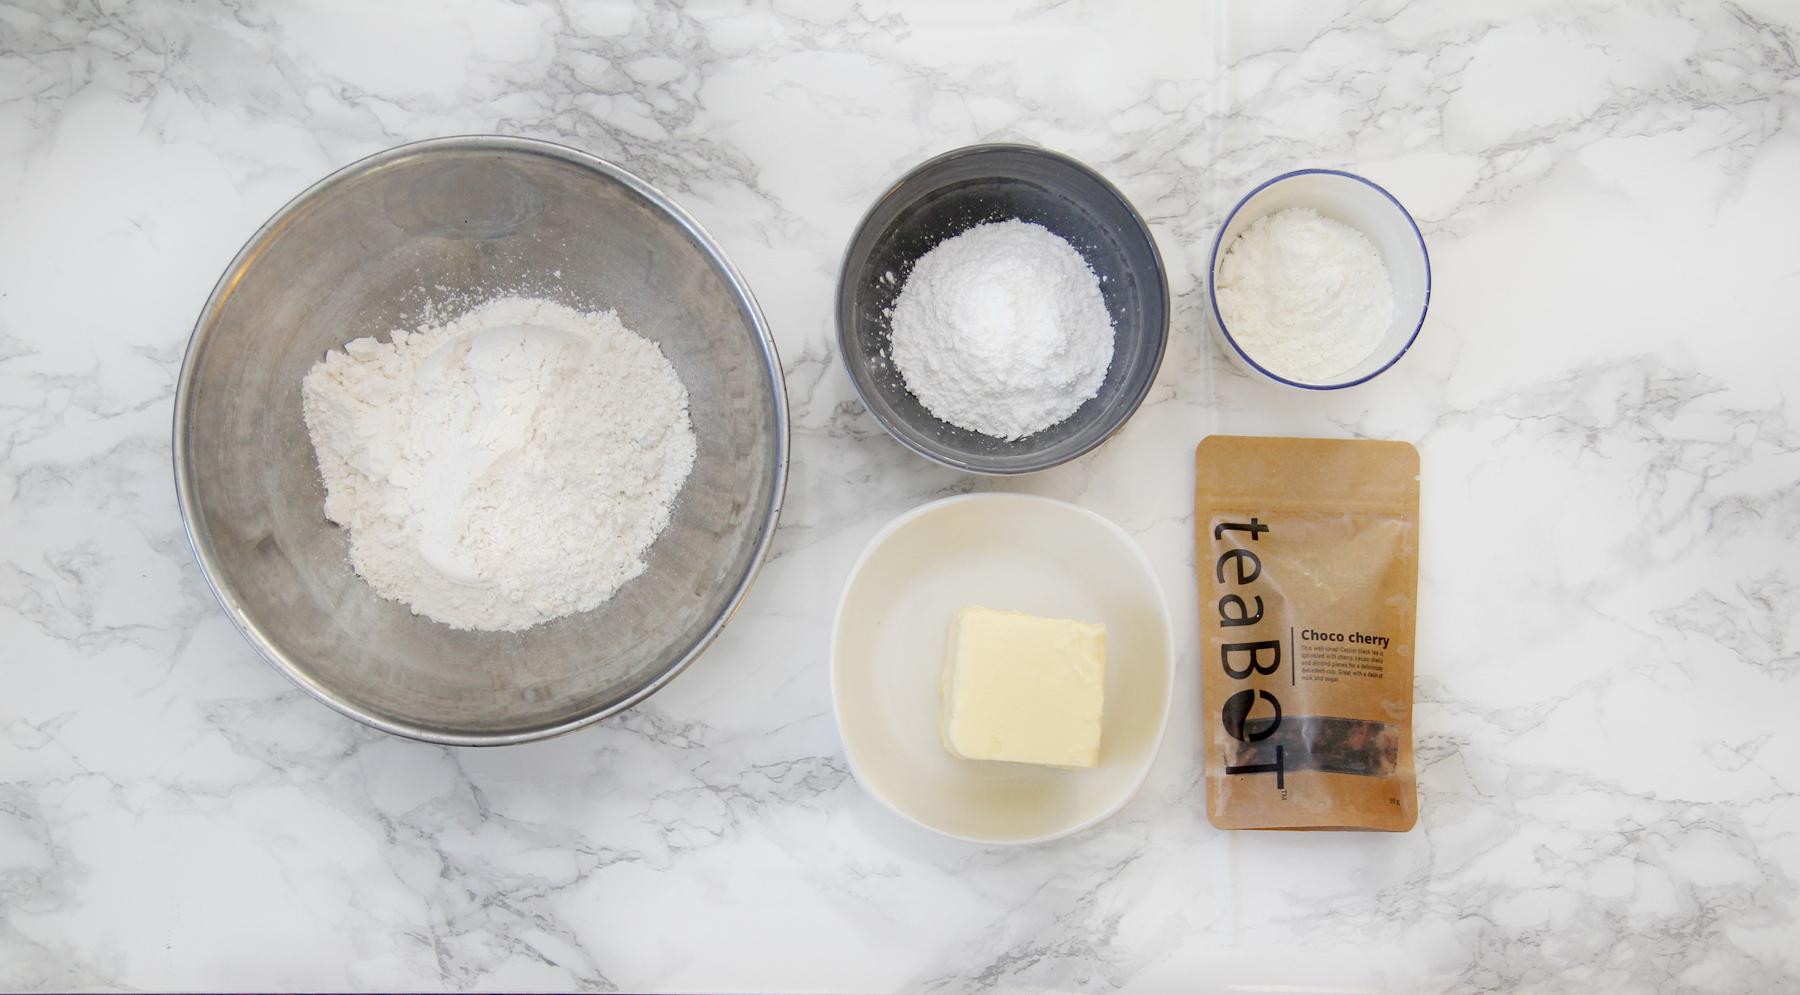
Ingredients
1 ½ cup flour
½ cup icing sugar
1 cup butter
¼ cup cornstarch
3 tbsp of teaBOT Choco Cherry Tea 
ingredients
First thing you will need to do is infuse the butter with tea.

  • Melt the butter over medium heat and add the tea
  • Stir so that the tea is immersed in the butter
  • Let simmer on low for at least 6 mins
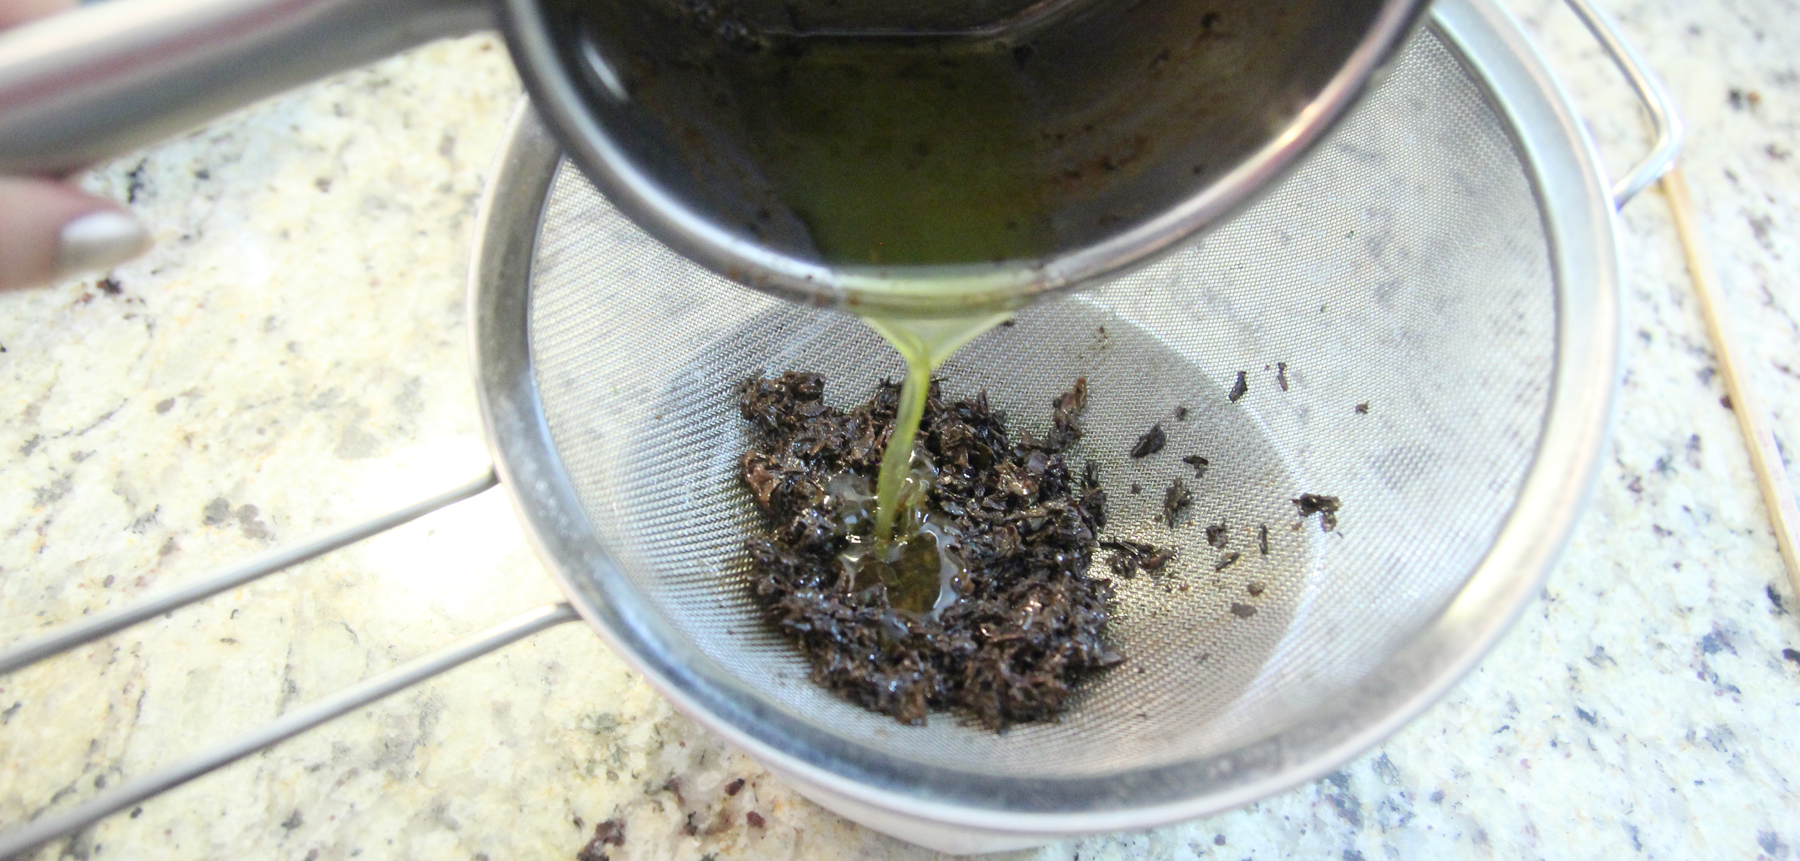
  • Strain using a fine mesh sieve to remove the tea leaves strainbutter

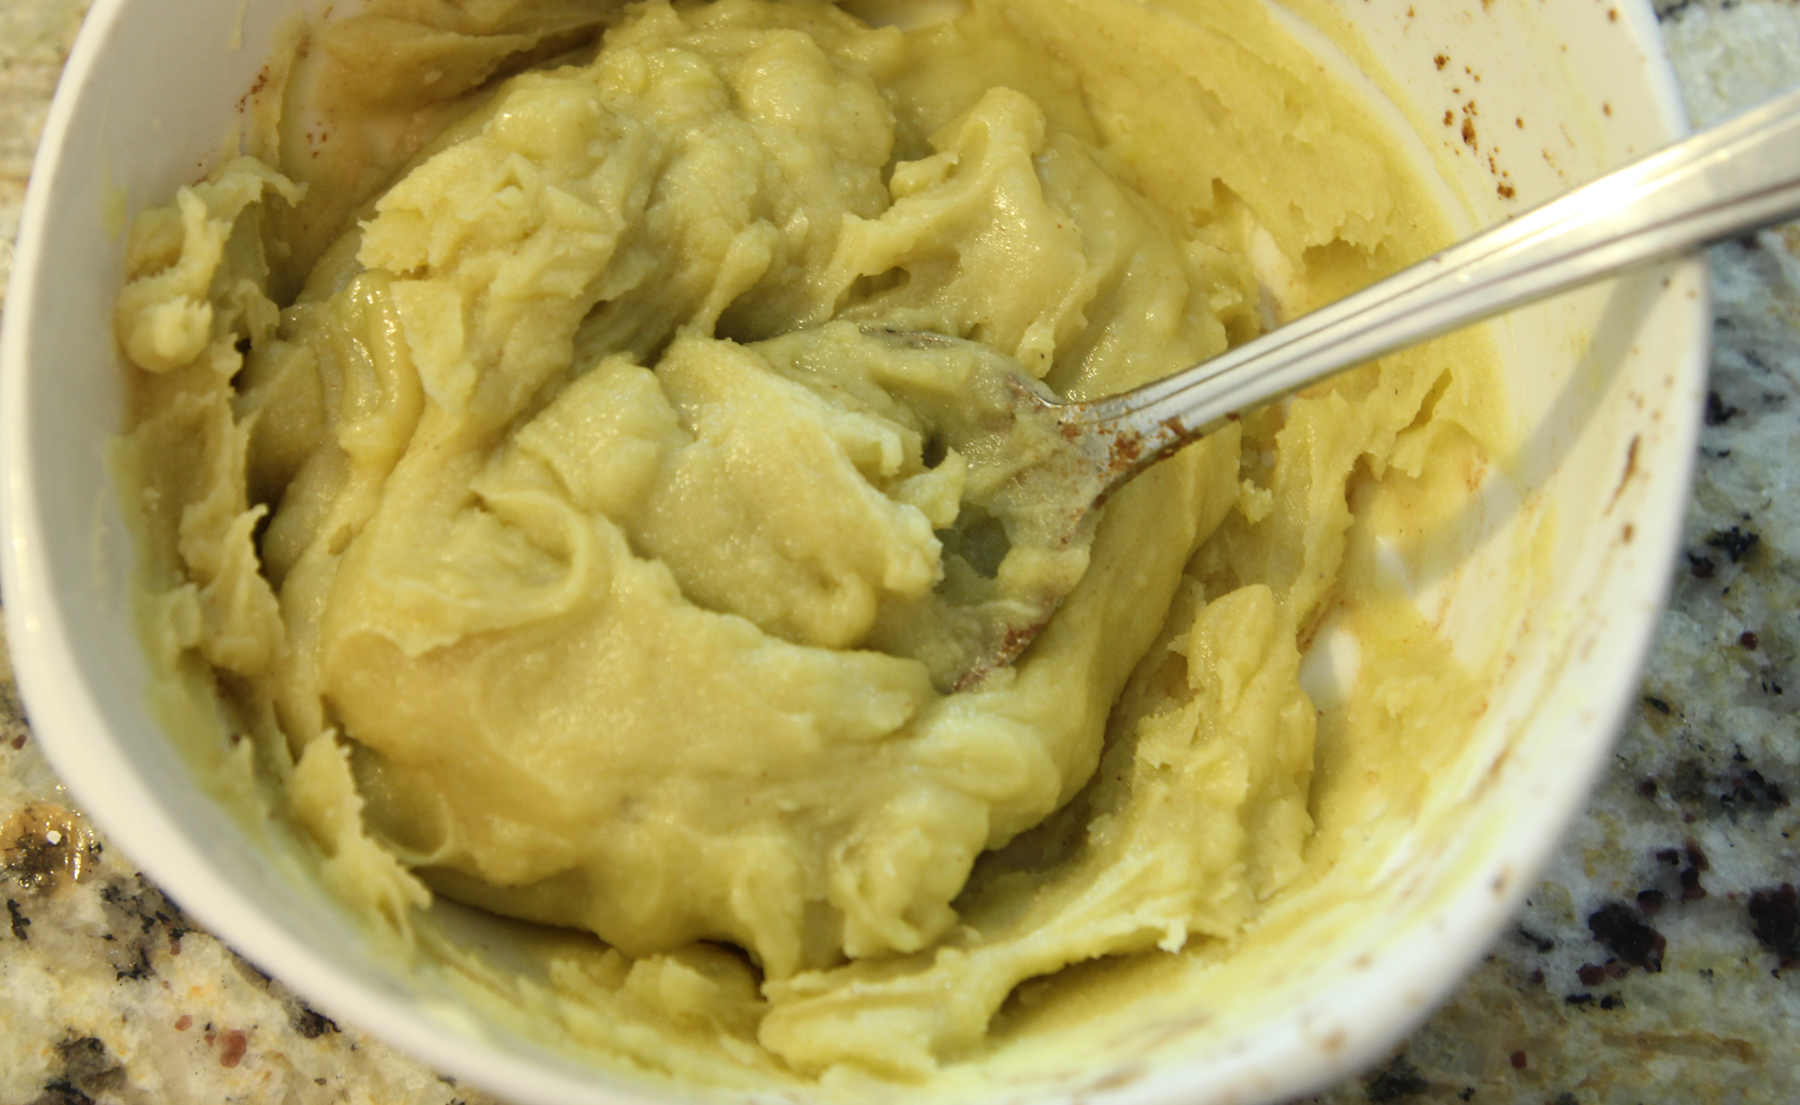
Your butter will be liquid at this point. Leave it to solidify. You will need it to be at room temperature to use so if you want to speed up the solidifying process by putting it in the fridge, you will need to leave it out to soften to room temperature before using.  solidifiedbutterPreheat oven to 350 degrees F.

In a bowl, cream together the butter and sugar. Once that is mixed well, add the cornstarch and flour. If you didn’t use salted butter, than add a 1/4 teaspoon of salt as well.

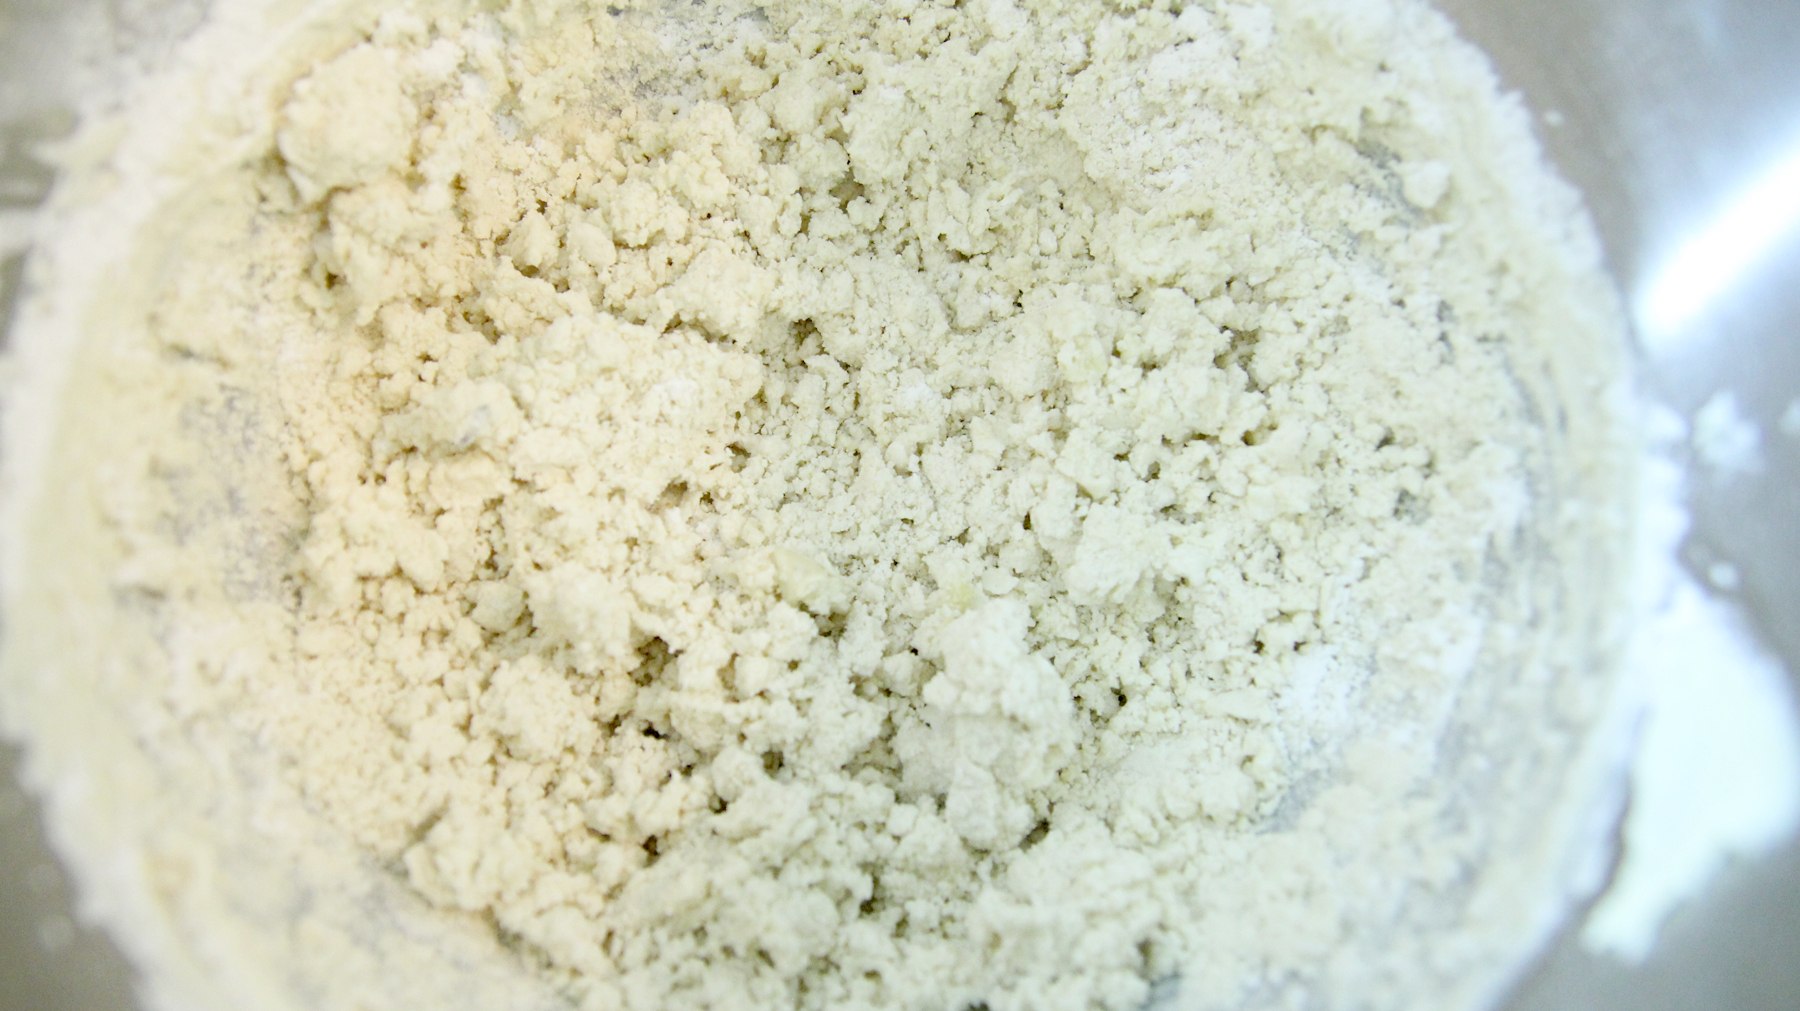
Mix until the batter is just crumbly. Careful not to over mix or your cookies could become quite dense.

When the batter is crumbly, remove from the bowl and finish kneading it together with your hands. You may need to add a bit more flour if you find it is sticking to your hands too much.

crumblyshortbreaddough

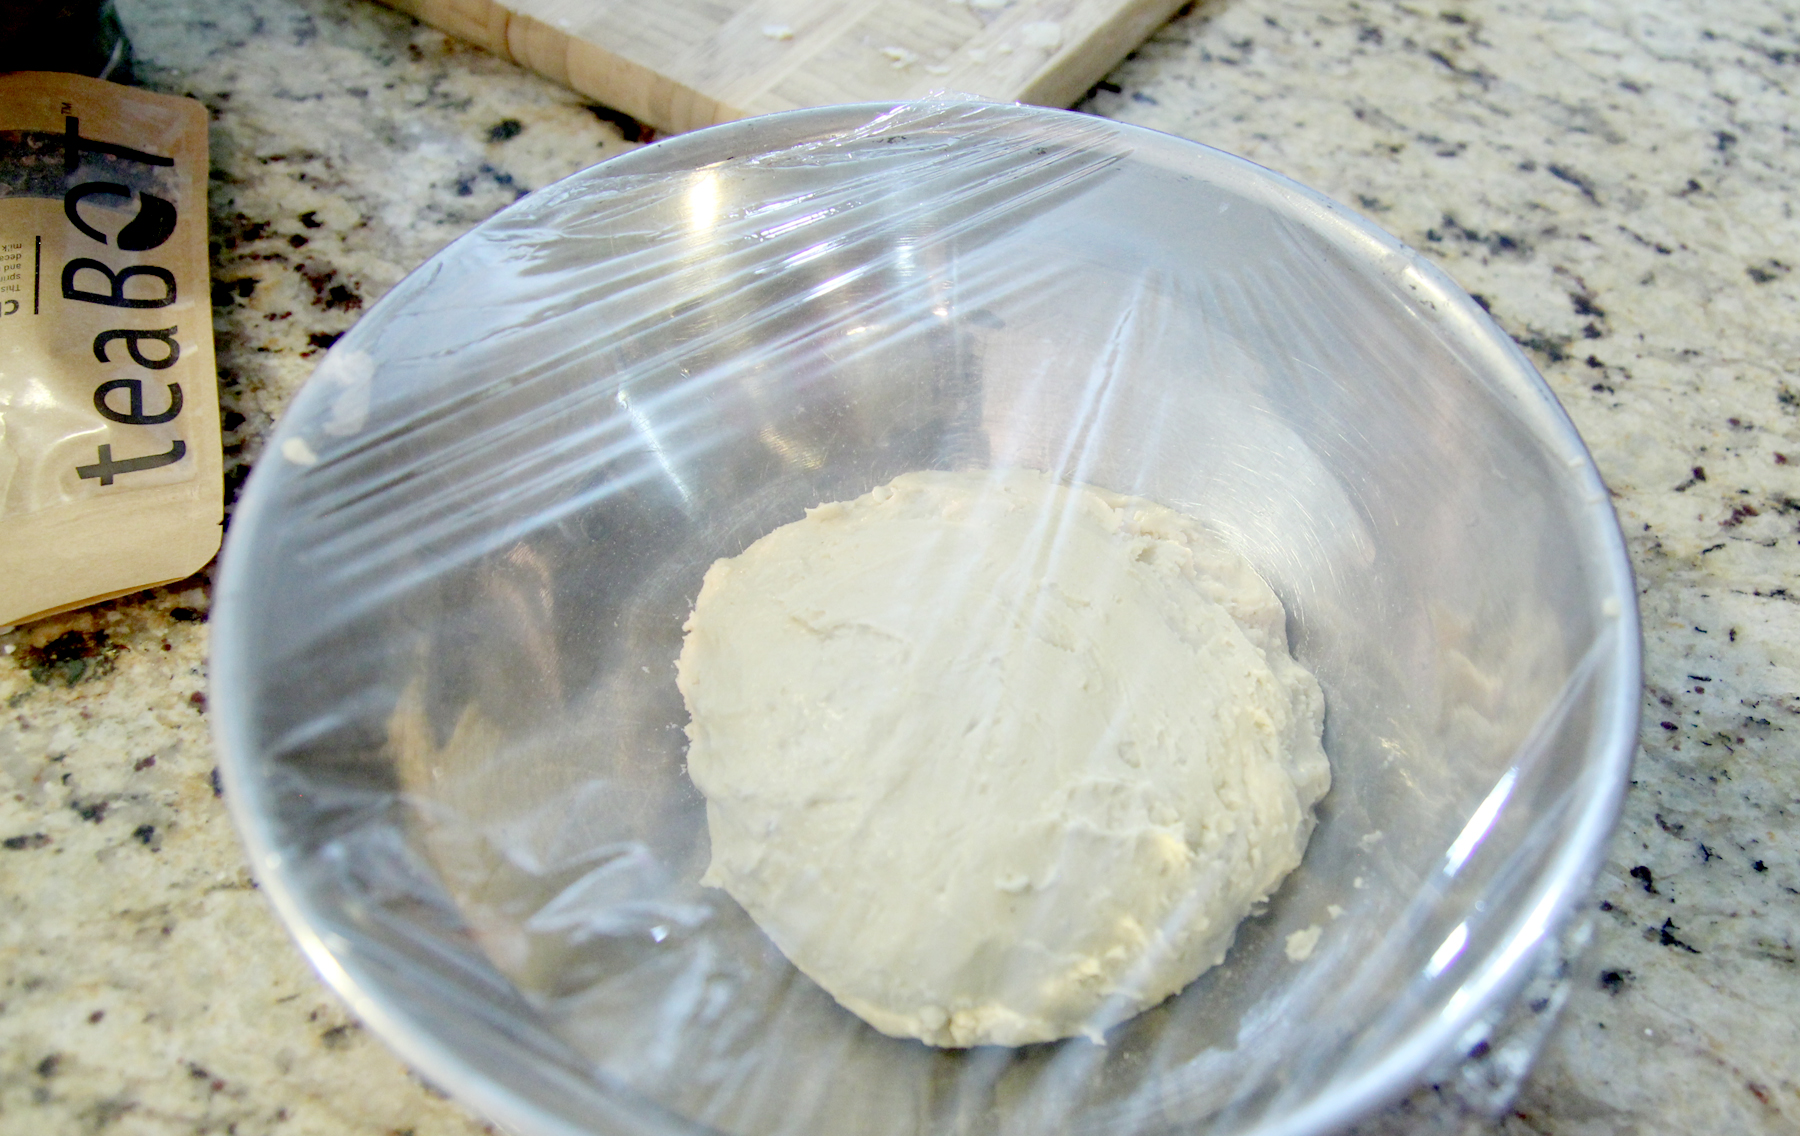
Now cover and let it cool for at least 30 mins in the fridge.

chillshortbreaddough

One a parchment paper lined cookie sheet, roll the batter in to little balls and lay them out on your cookie sheet.

Use a fork to flatten the cookies.

Bake in the oven for 12-18 mins and remove when the bottom and edges are just starting to get golden.

That’s it! Cheers!

You can also see the whole process in the following video!

Coffee filter Christmas tree tutorial

So Christmas is only 4 weekends away… which means it’s time to start decorating! Over my next few posts, I’m going to show you a few of my favourite DIY holiday decorations.

For this craft, you will need:

  • Bristol board
  • Scissors
  • Glue gun
  • Coffee filters (about 100 of them)
  • Ribbon or bow

Check out the video to see the full instructions.

DIY baby drool bibs

A friend of mine mentioned that she loved these baby bandanas but they were a bit pricy. So I decided to make a couple of them for her.. and pretty much for every single baby I know.

To make a baby drool bib, you will need:

  • fabric. For a 6 month old baby, I used fabric that was 14 inches wide. Use either cotton, jersey, or terry cloth.
  • velcro
  • sewing machine

Check out this video to see my step by step tutorial.

DIY: How to make a wacky wavy inflatable flailing arm tube man

Wacky waving flailing arm tube man costume

You will need :

  • 2 pop up laundry hampers, or one of those kid’s long tunnel tubes (make sure it’s wide enough for your shoulders)
  • A glue gun
  • Big googly eyes, or white and black fabric to make big eyes
  • A sewing machine (or you can hot glue it together if you don’t know how to sew)
  • Needle and thread
  • Fabric (wide enough to cover the outside of the hamper and long enough to cover your full height plus extra for the sleeves and top of the costume. My fabric was 60 inch x 3.5 yrds for a person who is 6’1 in height.

Step 1. Cut out the bottom of one of the hampers

Step 2. Sew the two hampers together

Step 3. Cut your fabric so that it’s long enough to fully cover the hamper and your feet when you are wearing it.

Step 4. Sew the two ends of the fabric together to create a long tube

Step 5. Flip the fabric inside out so that the seam is on the inside, and then stick the hampers inside

Step 6. Bunch off the top and sew it closed.

Step 7. Cut out the mouth. This hole is where you will be able to see out while wearing your costume. If you are using a dark hamper like me, just cut the mouth out of the fabric layer and leave the hamper layer in tact. If you’re using a light coloured hamper, you may want to cut the mouth hole through both the fabric and hamper layer and then glue some black mesh to close off the mouth so that it’s harder to see your face when you are wearing the costume.

Step 8. Cut two rectagles that are wide enough to loosely cover your arms. The length should be at least 1.5 times longer than your arms to get some good flailing movement.

Step 9. Sew the arms on to the body.

Step 10. Glue the eyes on.

That’s it!

Repaint/refinish laminate furniture

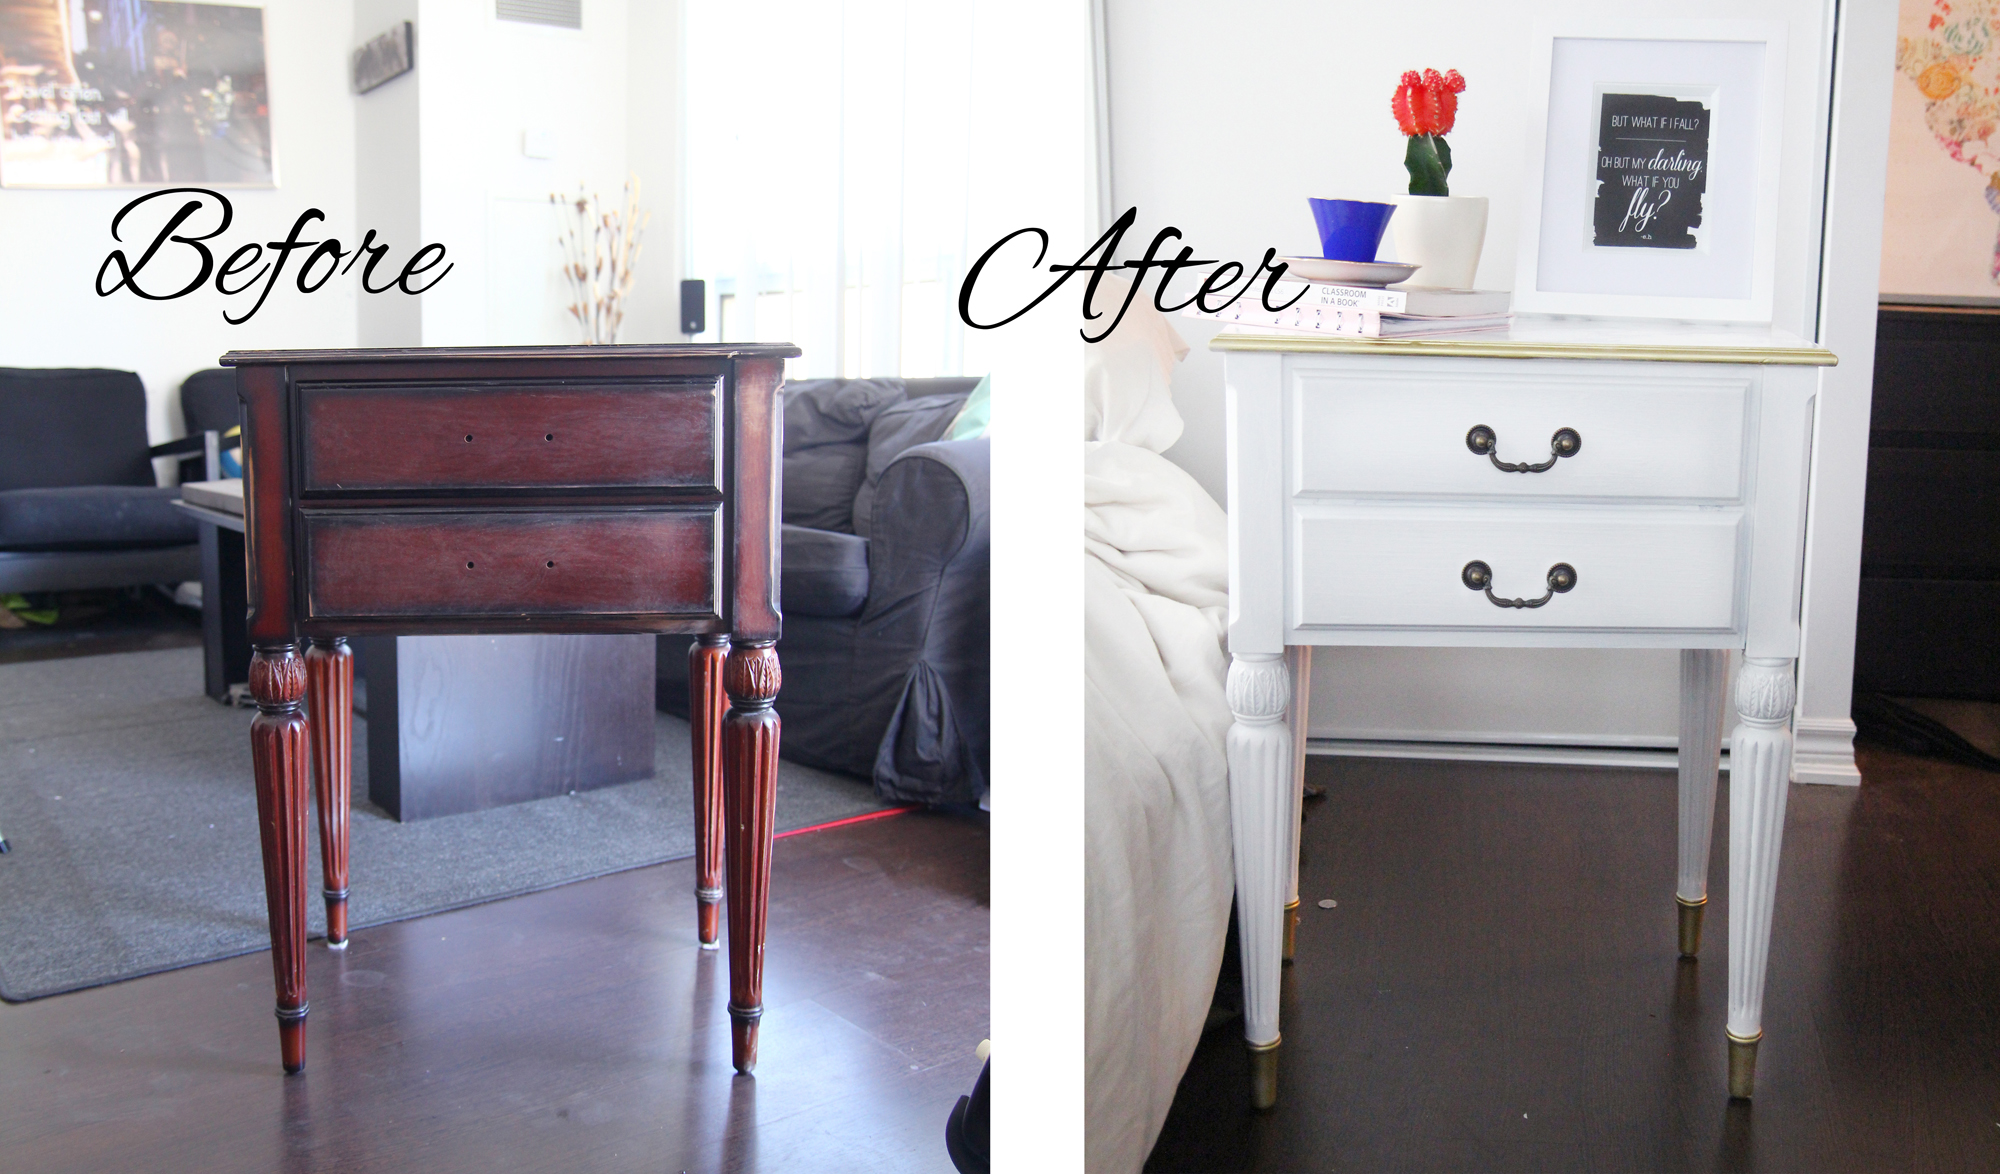
laminate furniture before and after

I was in need of a bedside table and found this one that someone was throwing out. A few coats of paint was all that was needed to make someone’s trash into great addition to my bedroom.

You will need:

  • A piece of furniture you want to refinish
  • Sand paper (a palm sander will save you so much time!)
  • Primer
  • A paint brush
  • Paint (latex or eggshell preferably)

Optional:

  • Gold spray paint
  • Marble contact paper
  1. So first you want to remove the hardware and sand down all the surfaces of your furniture. You can use 120-150 grit sandpaper. This will help the primer and paint adhere to the surface.
  2. Wipe down all the surfaces. Make sure you get in to all the nooks and crannies to get all of the dust that came off during sanding.
  3. Now using even strokes, you want to paint all of the surfaces with the primer. Now you want to let the primer fully dry. I recommend leaving it over night.
  4. When your primer is dry, you want to put on a few layers of your paint. Make sure you let it dry completely between coats.
  5. You may want to paint the hardware or buy new ones. Or you can also paint the existing ones to match the new look.
  6. I wanted some gold accents on my table so I tape up the areas that I didn’t want gold. Make sure you press your tape down so that you will get a nice clean edge.
  7. When spray painting, do multiple even thin layers. If you spray on a layer that is too thick, it can start to drip.

8. Wait for the spray paint to dry completely before removing the paint.

9. Adding contact paper inside the drawers or on top can also add a nice touch. I used grey marble by d-c-fix to add a bit of interest to the top of my table. You want to cut out a piece that is the exact dimensions of the area you want to cover and then start by slowing sticking down one edge. Slowly smooth it out as you stick the rest on.

10. That’s it! I hope that was helpful.

xo ngoc

DIY: Marble macbook skin/decal

I may have a slight obsession with pink, gold and marble. So when I saw these cute marble Macbook skins on Pinterest, I had to have it. I used d-c-fix grey marble for my cover but you can use any pattern/colour of contact paper you want. Hope you enjoy!

xo, ngoc


Tea flavoured macaron recipe

I’m usually more of a savoury snacker when it comes to guilty pleasures, but there’s just something about macarons that I can never resist. After seeing so many pins on pinterest claiming that making them yourself isn’t THAT hard… I decided I’d give it a try.

We found a basic macaron recipe from The food network and altered it a bit.

Ingredients for the cookie

1 3/4 cups icing sugar
1 cup almond flour
3 large egg whites, at room temperature
1/4 cup caster sugar (superfine sugar)
1 teaspoon of ground up Shades of Earl Grey tea leaves
Gel food colouring (optional)


Ingredients for the filling

1 stick of butter (room temperature)
1 cup of icing sugar
2 teaspoons of honey


Instructions

Preheat the oven to 300 degrees F

Line 2 big baking sheets with parchment paper

Combine icing sugar and almond flour in a bowl and mix together. Than sift the mixture so that any large pieces of almonds don’t end up in your batter. You’ll may end up with as much as 2 tablespoons that is too big to use.

Take a teaspoon of Shades of earl grey tea leaves and chop it up so it’s more fine and add it to the almond icing sugar mix.

Beat the egg whites on medium high speed until frothy. Then add the caster sugar to the egg froth and continue to beat until you get stiff shiny peaks. This will take about 5 more minutes using a stand mixer.

Fold in the almond, icing sugar, tea mix into the egg whites. You can also add in any food colouring now if you would like. Keep folding just until the batter is smooth and slides off the spatula in ribbons. Don’t overmix to the point that it’s runny or else you will have flat cookies. If you undermix it, your cookies are more likely to crack.

Spoon the mixture into a piping bag with a round tip. We used a 1/4 inch round tip but a 1/2 inch tip might work better.

Pipe circles on to your parchment paper lined baking sheets.

Then firmly with both hands pick up the baking sheets and rap them against the counter at least 2 times. Then rotate the pan and do the same thing. This will help prevent cracking of the shells.

Leave the cookies out to dry for about 15-30 mins until they are no longer sticky to the touch. This will help them keep their shape during baking.

Pop it in the oven for about 20 mins. You should be able to peel the cookie off the sheet easily and cleanly. If some of it sticks, than it’s not quite ready. Let them cool completely before removing them from the sheet.

Instructions for filling

Beat the butter so it’s a little fluffy and slowly add in the sugar. Beat until it’s fluffy.

Then add in the honey. Then add your icing to a piping bag and pipe on to one macaron shell and cover with a second one.

Voila! Now sit back with your favourite cup of tea and indulge!


Check out the video to see each step of the process! Good luck and let me know how your macarons turned out.